They just looked at each other with cocked eyebrows as though I had just said the world was flat.
Anyway, I did make the card; one I'd been meaning to make for a while: with three "pockets" to hold tea bags. I didn't take any pictures at the time, but I followed these fantastic instructions and came out with something pretty close.
Recently though, a friend of mine has been going through biblical plague-type circumstances and has managed to trudge through it all (including death in the family, a member of an already stretched-to-the-max staff quiting with no notice, men in HazMat suits ripping out the walls of her home/work, etc...) with remarkable aplomb. I designed a special card/book/tea sampler just for her. This time I did take pictures and copious notes so that I wouldn't forget how I did it.

Stash teas measure about 2.5"x3.25, so you will want each paper cut to: 6"x6.25"

 |
| You might as well do four pockets at a time. |
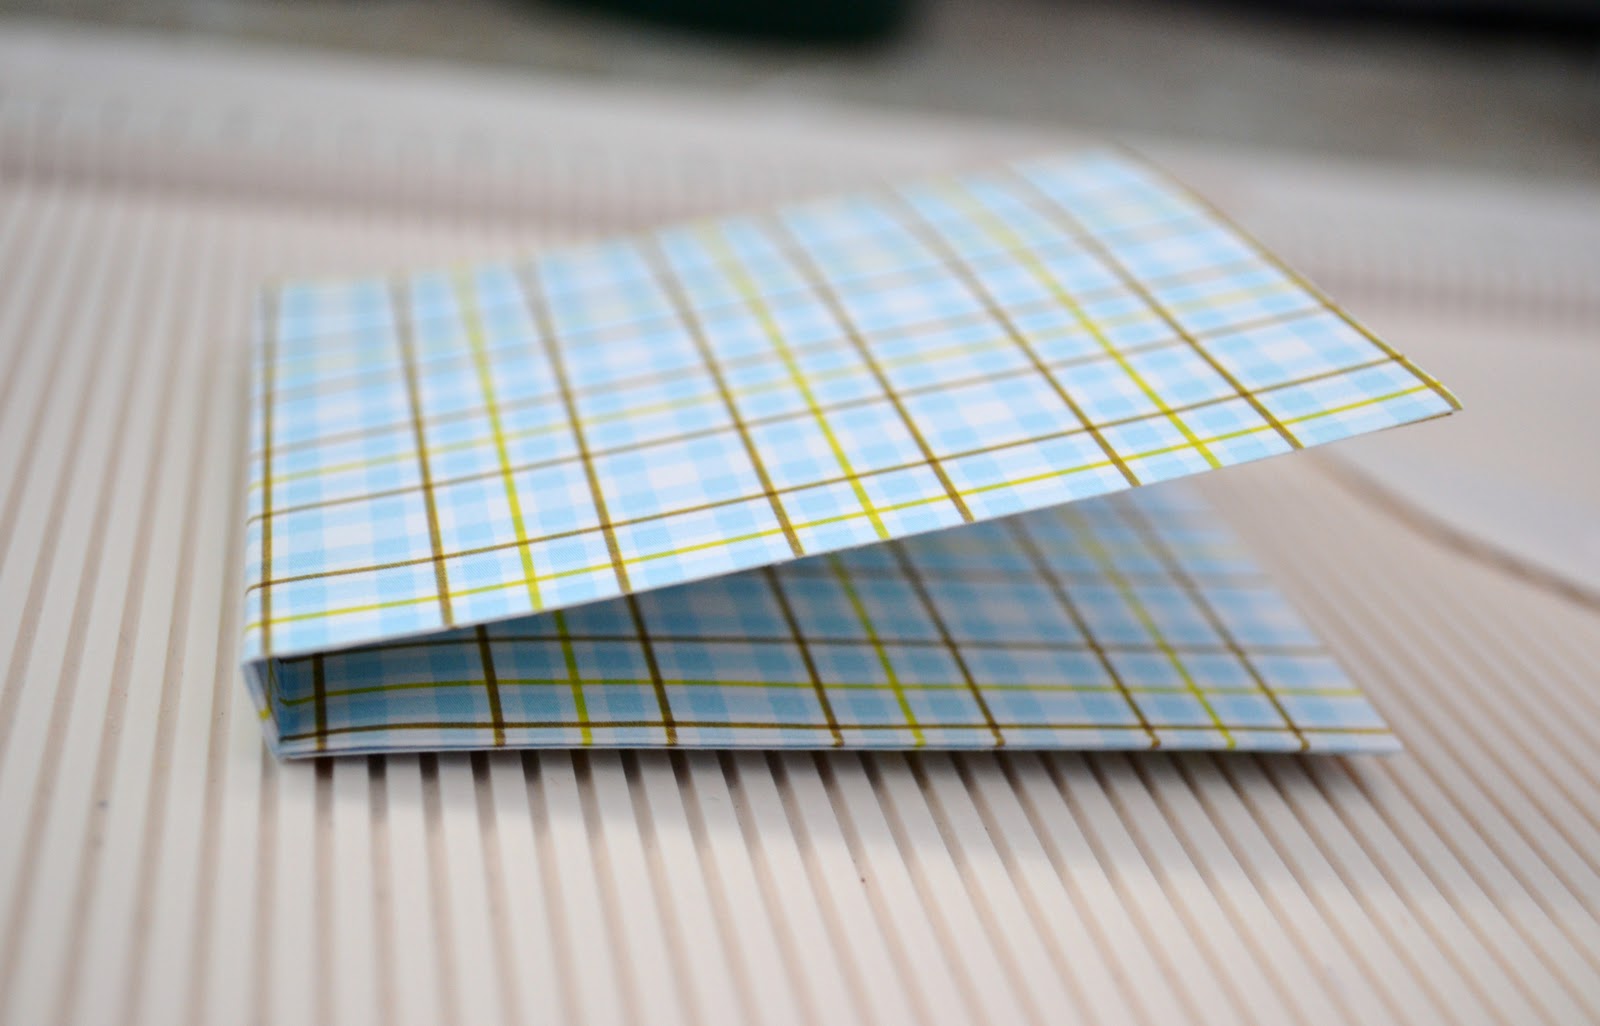
On the 6.25" edge, score at 3" and 3.25"


 |
| Don't get confused by the change in photo direction, I am punching on the open parts of the pocket, NOT the folds. |

With four pieces of paper, you end up with eight pockets, I haven't tried going any bigger than this, because I would worry that the "spine" of the binder would give out.
For the outside, the spine will need to accomodate the four pockets which each have a quarter inch spine, together they add up to one inch officially, but with the paper, it goes a little over. Plus, you don't want them squished so that you have room for the tea!


You have to double the width because the card has a front and back, and you have to add the 1.5" for the spine.
See? Easy Peasy.
That works out to 3.25"x8"
Score on the long side at 3.25" and 4.75"
Add adhesive to the spine of the pockets and carefully place them flat on the inside spine of the card one at a time, starting with the two outside pockets and leaving a bit of space in between.


You're done!
 |
| Actually, one more thing: to close the binder, you'll want to adhere some ribbon all around,leaving enough of a tail to tie. |


 |
| Don't forget to find yourself a pithy inspirational quote by some famous wordsmith...:) |

This is such a cute idea, my Mom loves tea, maybe I'll do this for her for Mother's Day or Valentine's Day if I can get to it before then. Thank-you for the great gift idea!!
ReplyDeleteI'm planning on making another one for my mom for Mother's Day as well. If you make one, be sure to send a picture in and I can put it up.
Delete