One of the very first things I bought years ago when I started paper crafting (less pompously known as: making holiday cards) was a set of wooden shelves from IKEA. I'm sure you've all seen them, but for those two non-IKEA fans out there, they look (looked) like this:

I need a snack.
So, in honour of these drawers who I hope are somewhere sunny and warm in their retirement, I finally got around to giving them the snazzing up they've been begging for since they first entered my life.
The before:

The after:

Whadya think? I don't think this warrants a full tutorial, because it's pretty self-explanatory, but I've included some captioned pictures below with some details of my doings. This took a couple of hours scattered throughout one weekend. But now I'm starting to look around the house for any other unfinished wood that I can slap some nice paper on; and in the absence of unfinished wood ... ooooooh, Seeeeeeelma!
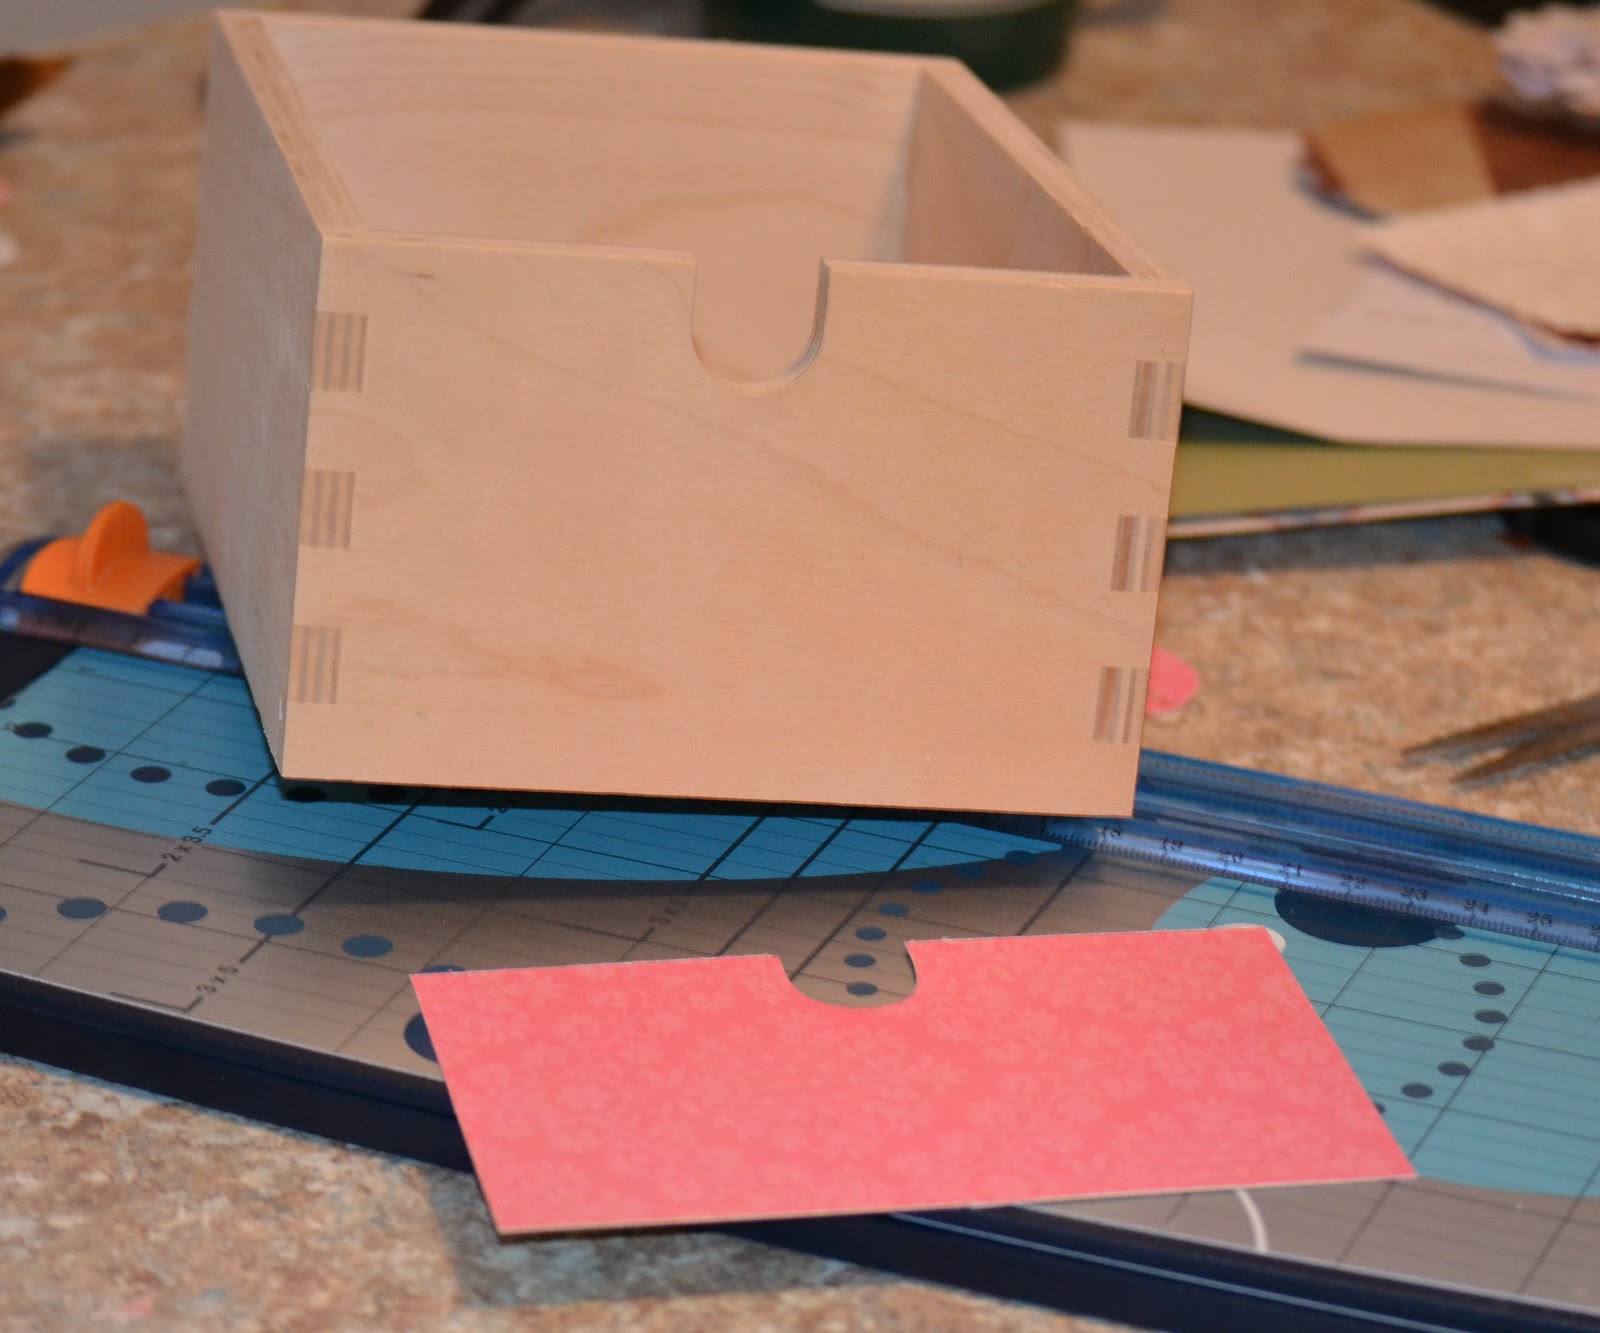
In leiu of a tutorial, just a couple of pictures of the process, though, as I said, it's fool-proof
 |
| Template-Making 101. No measurements were taken during the making of this project |
 |
| I hope it's clear that there is some gluing happening under this heavy book. |
 | |
| One strong recommendation: after gluing, sand edges and corners. It makes a huge difference. I am not one for extra work, but this step not only makes the whole thing look more finished, but makes sure you don't have any extra paper flaps that might catch and rip the whole thing off. Right side is sanded, left side is unsanded, see the difference. Sponge sanders may be the best thing in the entire hardware store! |
 |
| Unlike the sanding, the "distressing" is entirely up to your discretion. I find that I'm ambivilent towards the whole "shabby chic"/antiquing trend. I do it because it's a cool crafty thing to do (and I'm nothing if not cool and crafty), but the Egyptian in me just thinks, "Why would you want to make something new look old???" You decide. |
YAAAY! You're back :)! So umm...now that you've showed us this awesome project... what am I supposed to do, as I sigh endlessly at each IKEA page I flip through. lol... xoxo
ReplyDeleteHello - im soooo glad your back infact ive checked many a times and there were no recent posts which made me think is she evercoming back -- i know people have lifes outside blogger, look forward to your upcoming posts!!!
ReplyDeleteI can't even describe how happy I was to come across your lovely blog! I am a recently converted Muslim and I chose to wear the Hijab as well. I live in Canada and I am studying Nursing. A lot of people still have a great misconception about Islam, which is a shame, it has such beauty in truth. I loved reading your Ramadan/Eid posts and I look forward to reading more of your blog! I hope that I can do what you are doing for your children someday. You decorated and celebrate our religious holidays so beautifully, Mashallah! I'll be celebrating my first Ramadan this year with my newly wedded husband. I look forward to making decorations and traditions that we will pass on and continue with our future children, Inshallah. I wish you and your family all the best! Take care!
ReplyDeleteWell, I can't describe how happy your comment made me! Thank you so much for your kind words and wishes. Gosh, now I feel like I have to live up to them! :)
DeleteMabruk on your marriage ... and all the good that has come out of it.