My mom, now known as the cute lady trying to instill cross-cultural sensitivity in the picture below, reminded me that I hadn't yet posted the how-to for the little post-it jackets I made
here. They are actually very simple and their beauty depends more on the beauty of the paper you use than anything else.
The only "trick" is to make sure to accomodate for the thickness of the pad you're using.
Here, I'm using standard 3"post-it squares (all measurements in inches):
For post-its this size, you'll need to cut your cardstock to 3 and 1/4 by 6 and 7/8
 |
| Make more than one at a time, it will only add a few seconds. Don't be afraid of the shadow, it's just my picture taking "skills" |
Next is the most important step: scoring. Turn the paper horizontally and score at 3 and 1/4 and then over 3/8 more
(At this point you can round the edges if you like. I always do this because it gives a much more finished look. If you don't have a corner rounder, use scissors but do two corners at a time to make sure they line up.)
In the center bottom of one inside flap, put a dab of glue and press in a piece of embroidery floss about 6 to 7"
Put glue on the backs of your post-its and press them firmly in the jackets, lining up the top just under the bottom score line and centering it in the cover
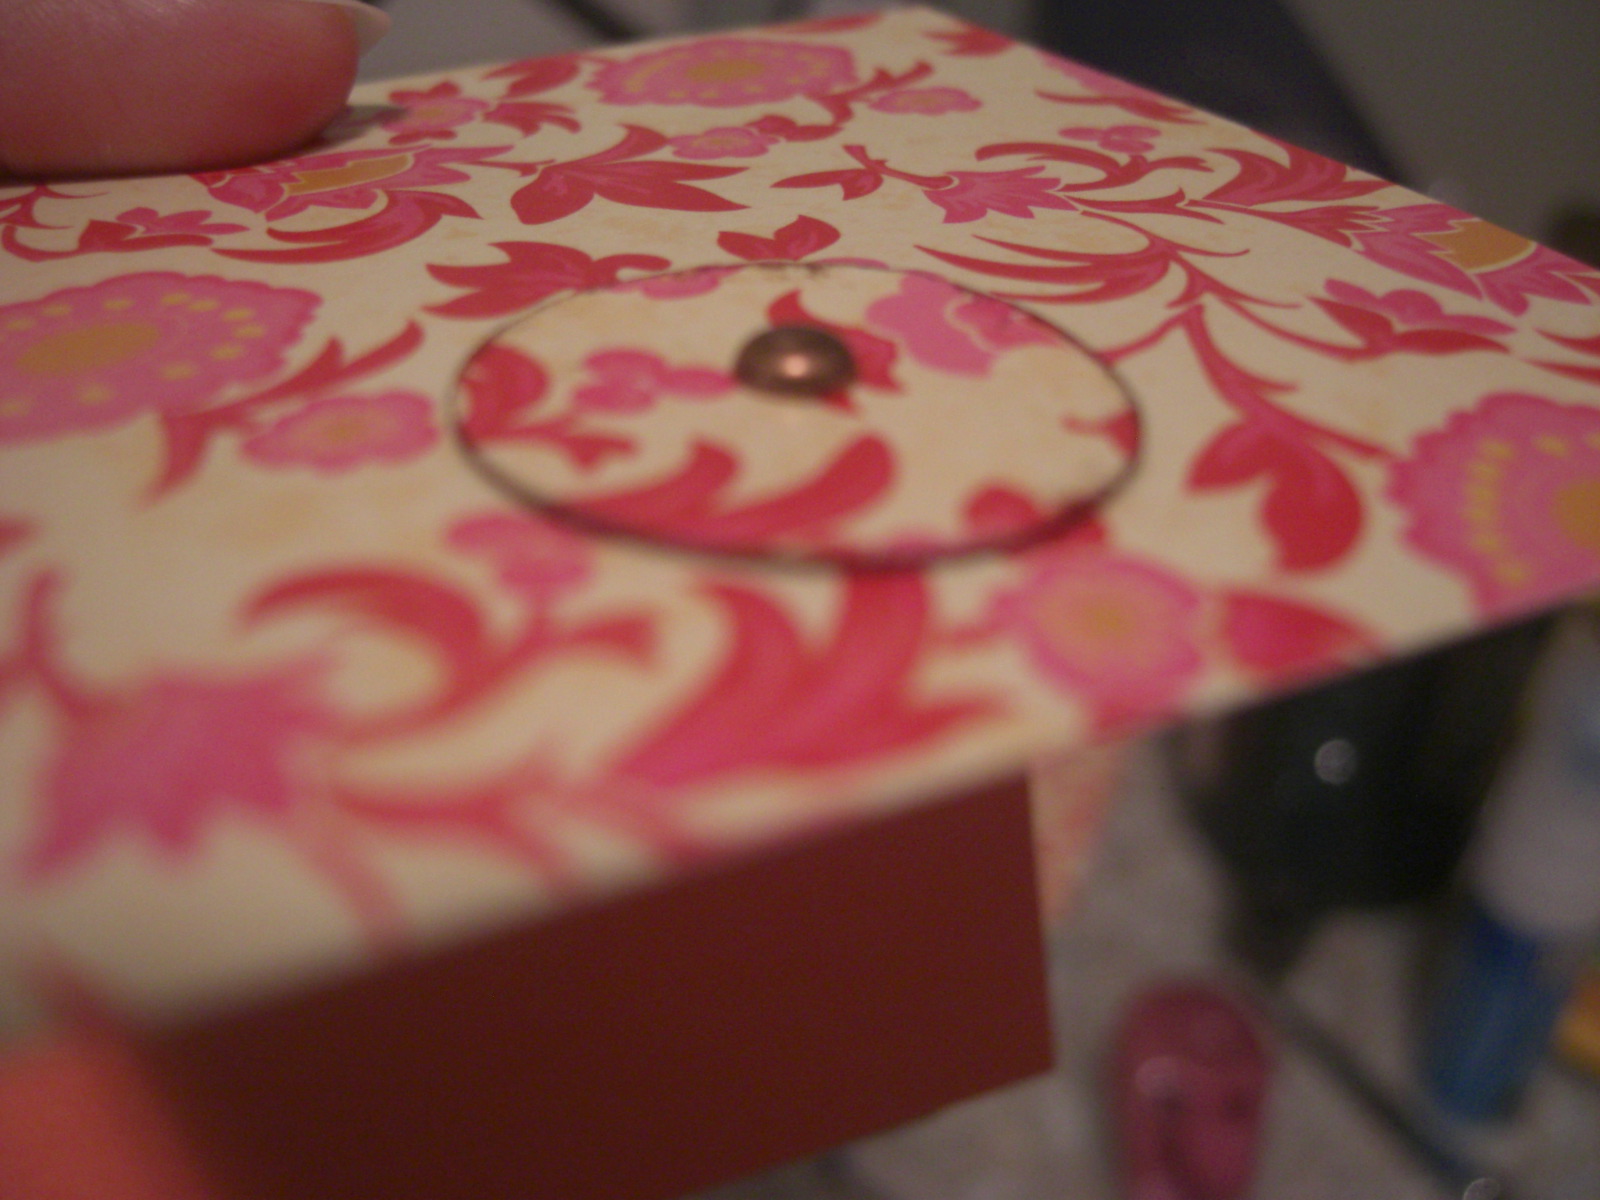
Make a little circle with the same or coordinating cardstock (about 1" diameter). Using either a small hole punch or a needle, punch a hole through the center of the hole and the top layer of the jacket
Put a brad through both layers and open it leaving it slightly loose (as you would when sewing on a button)
You can see that I've outlined the outside of the circle (and the jacket) with black ink. This isn't necessary, but I highly recommend it to make the circle visible. It also gives a clean, finished look. (The most artistic member of our book club noted the inked edges... so if she likes it, it must be important!)
 |
| Ready to gift |
Your strings should be long enough to wrap around your circle a couple of times. Trim the excess.
While I was in my craft room and had the cardstock out, I quickly made a jacket for a scratch pad that I picked up at the dollar store (4 for a dollar). Same process, just adjusted the dimensions. Again, the only "trick" is to make allowance for the spine of the pad.
Start to finish, these take less than 2 minutes to put together. So next time your craft store has pretty paper on sale, pick up a stack make a bunch of these to have on hand as quick little gifts or favors.
Some bloggers have made similar projects with pencil holders. I think these would take a little longer, but are a really nice touch. Check out Regina's version at
Creative Kismet.


I was lucky enough to be gifted one of these creative jackets - It looks great on my desk! thanks Samah
ReplyDelete